Feet positioning makes suspension training fun and exploratory.
It’s possible to create a multitude of different intensities by positioning your feet differently.
Some positions require an athletic stance.
This means you are stable with feet shoulder-width apart and you have a slight bend in the knee, don’t lock it out.
Whilst others require you to be back on your heels slightly.
There’s no definitive right or wrong position for your feet.
There is guidance but ultimately we are all different with individual biomechanics.
One person’s stance will be completely different to another person’s to achieve an effective mindful muscle-connection.
And perform the exercise through the correct range of motion suitable to their unique body.
It’s all about experimenting to find the right resistance that matches the reps required in the program.
I encourage you to play around with different foot positioning while performing exercises so you can experience how different positions feel.
You might be asking yourself
“how will I know each time where to place my feet?”
whilst this plays a part in it, it’s the ability to place your mind inside your muscle to train and connect with it that is the most important.
You could have feet in the best possible position, calculated by multiple angles…
But if you don’t focus on performing the exercise correctly with movement and mindset, it’s totally irrelevant.
You’ll naturally begin to get a feel for where to place your feet the more you workout.
The beauty of this is that you never quite place your feet in the same position.
Things are never exactly the same.
So the body can never adapt quickly to the same stress from the movement pattern.
Keep tricking the body
It keeps the mind and nervous system slightly guessing to constantly adapt.
All that being said.
There’s no harm at all in recording where you place your feet.
I just want to really get the point across that you shouldn’t overthink it or allow it to lead your main focus.
I am a nerd and I love to gather as much data as possible in all areas of fitness.
So, I record exactly where I stand for every exercise when I’m in the studio.
That’s why I use a special mat with super grip and horizontal line markings, the details of it are below should you wish to get one too.
Need floor grip?
A quick useful note before we move on to tell you about something I use consistently with my TRX Training (pictured on the floor in the below photos)…
The Tyger Mat. A fantastic invention by a lovely chap called James (@tygermat.us).
It’s got mega grip both for the feet and on top of any surface.
There are numbers at the standing point lines to record the same spot each time you perform a TRX exercise.
For a nerd like me who records load, intensity, volume… everything! It’s a real game-changer.
He ships internationally and has given a special 10% discount code for clients that follow my Programs: trxtraveller1
Visit this link to grab one: https://tygermat.com/discount/trxtraveller1
As I mentioned previously this isn’t essential to your training. Just a nice to have should you wish it.
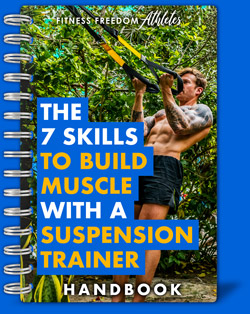
Get Your FREE Copy Of My ‘7 Skills To Build Muscle With A Suspension Trainer Handbook!’
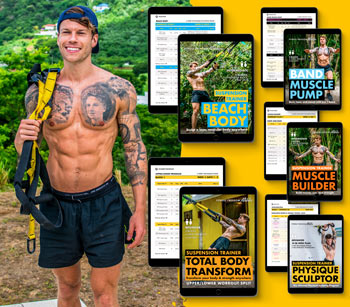
Apply These 7 Skills Right Now In All Your Workouts To Build Lean Muscle and Burn Fat, FAST! Downloaded 70,000+ times!

Pin this post for later…






0 Comments