 I hope you enjoy this post. If you want my help to build lean muscle & transform your body using a TRX suspension trainer anywhere –
If you sit at a desk all day, your shoulders are probably quietly falling apart.
Rounded, weak, and one overhead reach away from real pain.
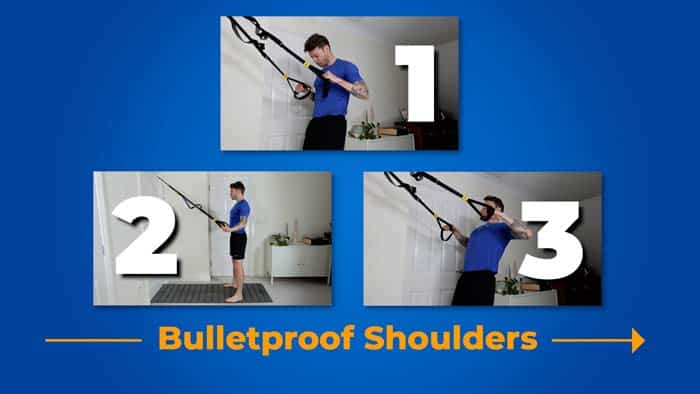
But I’ve used a 3-step suspension training workout plan with dozens of clients to transform their weak shoulders in just 3 weeks.

So in this post, I’m going to show this simple plan with exercise demonstrations that will bulletproof your shoulders…
so they’re strong, stable, and injury-free.
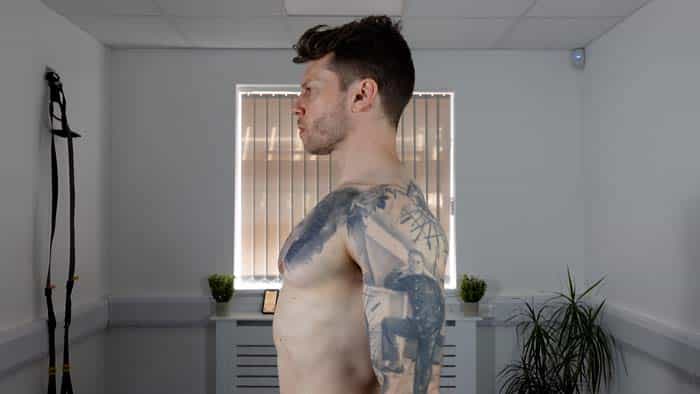
But first, let me show you what weak shoulders actually look like before this 3-step plan…
And then what they look like after…
Don’t have time to read the post in full? Then watch the video below to learn the 3 TRX exercises to build bulletproof shoulders FAST…
Table Of Contents
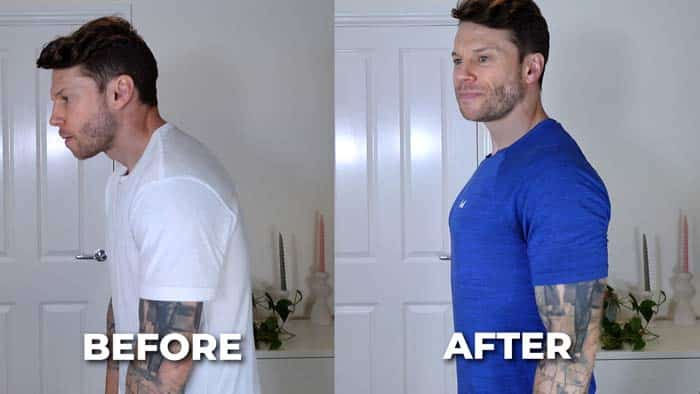
Before & After Doing These 3 TRX Exercises
Before: rounded with forward posture. After: Upright with confident posture…
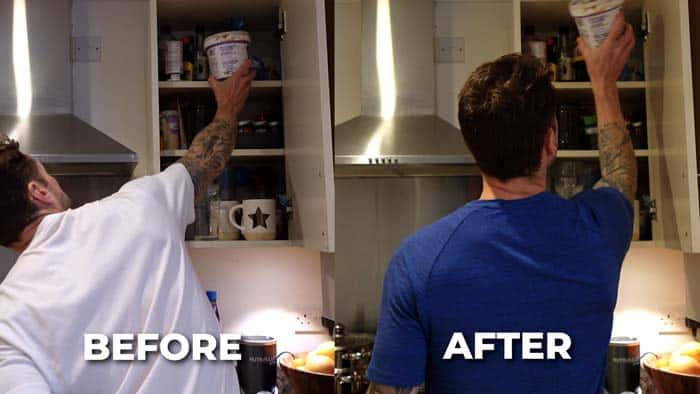
Before: can’t reach overhead without twisting body compensation. After: Smooth, pain-free overhead movement…
And finally..
Before: Struggles with basic tasks like carrying bags, without pain. After: Effortless carrying…

The majority of people are living on the left side of this screen, thinking it’s normal.
But this 3-step plan I’m about to show you will move you from left to the right in 3 weeks…
Using a progressive suspension training workout plan.
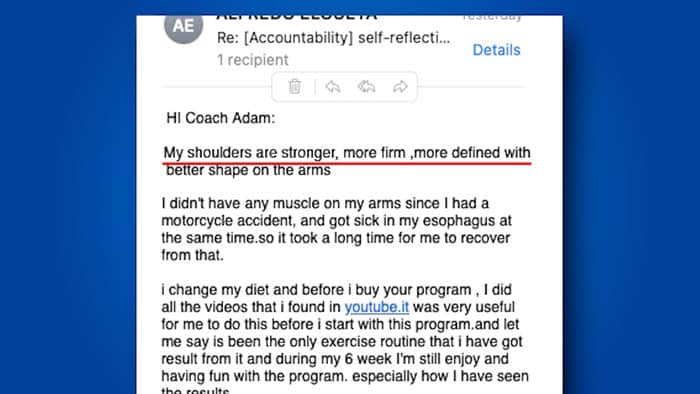
With each week building upon the last… As my client Alfredo experienced:
So let’s start with step one to fix your shoulder mobility quickly…
Reclaim Your Strength in 4-Weeks’ FREE Suspension Trainer Workout Plan
Gain better movement, confidence, and mobility in 8 neglected and essential strength areas. Just tell me where to send it…
Step 1 – Easy Shoulder Mobility
The Y-to-T flow is your key to unlocking frozen shoulders
Skip this, and your shoulders stay locked like a rusty door hinge.
But master it, and you’ll reactivate all three shoulder muscles for smooth, pain-free movement.
But here’s the mistake 90% do, which makes this exercise useless…
Most people move using momentum and swinging
Which means they’re cheating themselves and missing complete shoulder muscle activation.
So, let’s fix that….
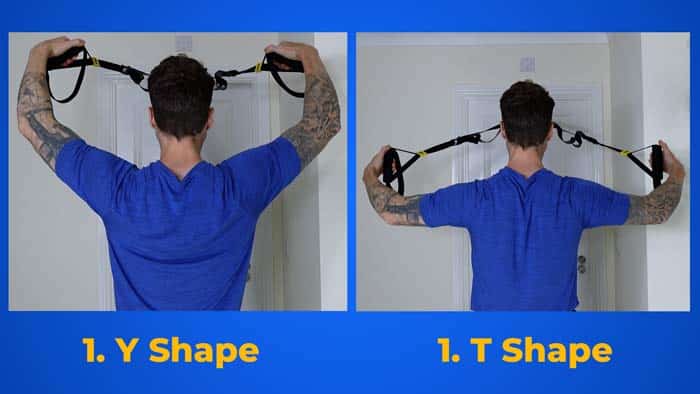
- Start at the top in a Y shape – elbows slightly bent, shoulders centered (not rounded or pulled back)
- Create a small angle and slowly lower, resisting gravity until just before your arms hit parallel
- Don’t just drop into a hang or you’ll lose all that shoulder tension!
- Here’s the key: Pull back up into a T by driving the backs of your hands to the outer walls
- At the top, squeeze hard by continuing to push your hands outward against the straps
Lower back down and flow into that Y shape again with the same control.
Here’s your tempo:
- 2 seconds down
- 2 seconds up
- 2 seconds squeeze at the top
Go for 3 sets of 8-12 reps, 3X a week for the first week.
Once your confidence and mobility begins to grow, you can add I shape into the flow so it becomes a full YTI routine…
But Mobility alone won’t protect you.
Next, I’m going to show you the number one TRX move that will actually injury-proof your shoulders for life…
Especially if you’re hunched all the time….
Get Your FREE Copy Of My ‘7 Skills To Build Muscle With A Suspension Trainer Handbook!’
Downloaded 70,000+ times! Just tell me where to send it:
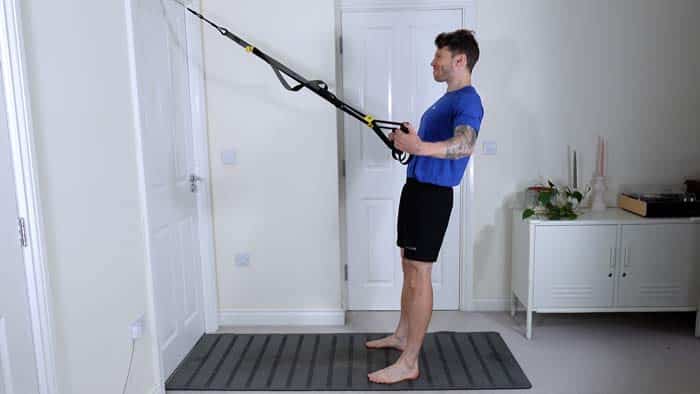
Step 2 – Shoulder Stability Strength
Years of sitting forward over a desk shrink and weaken your rear shoulder muscles.
And when they’re weak, EVERY overhead movement becomes a risk.
That’s why face pulls are a non-negotiable
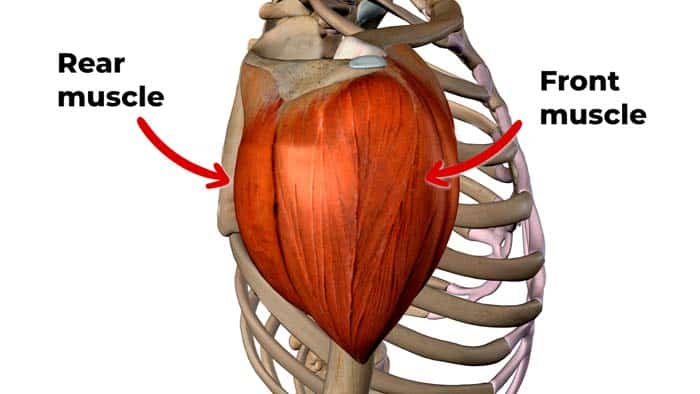
They strengthen your rear shoulder muscle, which stabilises your shoulder joint during all overhead movements…
And reverse rounded shoulders.
But you must maintain tension only on the rear shoulder muscle to strengthen it.
Here’s how to do that…
- Start with handles at nose level, shoulder blades pulled right back
- Create a very small angle, then slowly lower yourself down, resisting gravity until just before your arms straighten
- Don’t fall into a hang or you’ll lose all that muscle tension!
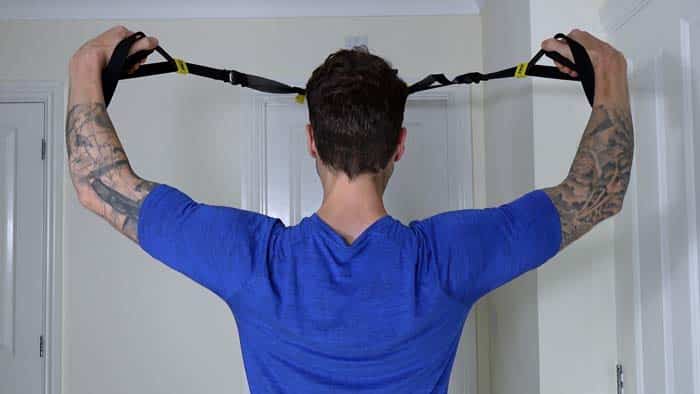
- Pull the handles toward your face at nose level
- At the top, rotate your knuckles upward and squeeze your shoulder blades together to fire up that rear shoulder muscle
Here’s your tempo:
- 2 seconds down
- 2 seconds up
- 2 seconds squeeze at the top
Go for 3 sets of 8-12 reps.
Add these onto the YTI exercise in your second week
Steps 1 and 2 fix mobility and stability.
But there’s one crucial piece missing… Shoulder muscle endurance…
Step 3 – Shoulder Muscle Endurance
The kind that lets you carry luggage, lift groceries, or hold your kids without pain.
That’s where isometric strength comes in.
Or in other words, holding strength.

So you can carry things for longer periods without your arms failing.
And there are two isometric variations you can’t miss out on
Firstly lower isometric…
- Start in an upside-down Y shape – elbows slightly bent, shoulders neutral
- Step in and lean back so your shoulders are holding your bodyweight in this position
- Hold for as long as you can!
Then the overhead isometrics…
Switch into the Y shape, same technique, same principles, holding for as long as you can
Hold each move for as long as possible for 5 rounds, resting for 30 seconds between each round.
Add these after Facepulls in your third week.
The Whole TRX Shoulder Workout
So your whole workout now consists of:
- YTI’s – 3 sets of 8-12 reps
- Facepulls – 3 sets of 8-12 reps.
- Isometrics – 5X rounds
Do this TRX shoulder workout 3 times a week.
But here’s the thing…
Strong shoulders are just one piece of the puzzle.
If your core is weak, your hips are tight, or your back can’t support you, you’re still at risk.
Plus, I’ve created a free 4-week workout plan that puts all of this together. Grab it below this video.
Here’s to your Fitness Freedom
Coach Adam aka TRX Traveller


Adam – I fell in love with TRX several yrs ago – most fun exercise routine I’ve ever done. I am now 82 – teach TRX at a local YMCA. People in my class from 24 to 80. A few who have been in my class for almost 10yrs. Stumbled on you a few weeks ago. I really enjoy your ‘focus on the muscle.’ keeping the muscle under tension. I am feeling the difference – and the younger guys in my class are also love it!
That’s awesome to hear, I hope to be as fit and motivated as you at 83, inspiring! All the best with your training and classes